
 Local Minnesota Home Improvement
  Request a Quote
  Get My Offer
Construction Services
Tile Installation
Bathroom tile and kitchen backsplashes. The work where the details are the whole job.
Tile is unforgiving. Layout that is a fraction out at one wall is obvious by the time it reaches the other, and a bathroom floor tiled over a surface that flexes will crack its grout lines within a season. Getting the substrate flat and solid comes before anything decorative.
In wet areas that also means waterproofing. Backer board and a proper membrane behind and beneath the tile, so what is behind the wall stays dry. It is the part nobody sees and the part that decides whether the installation lasts.
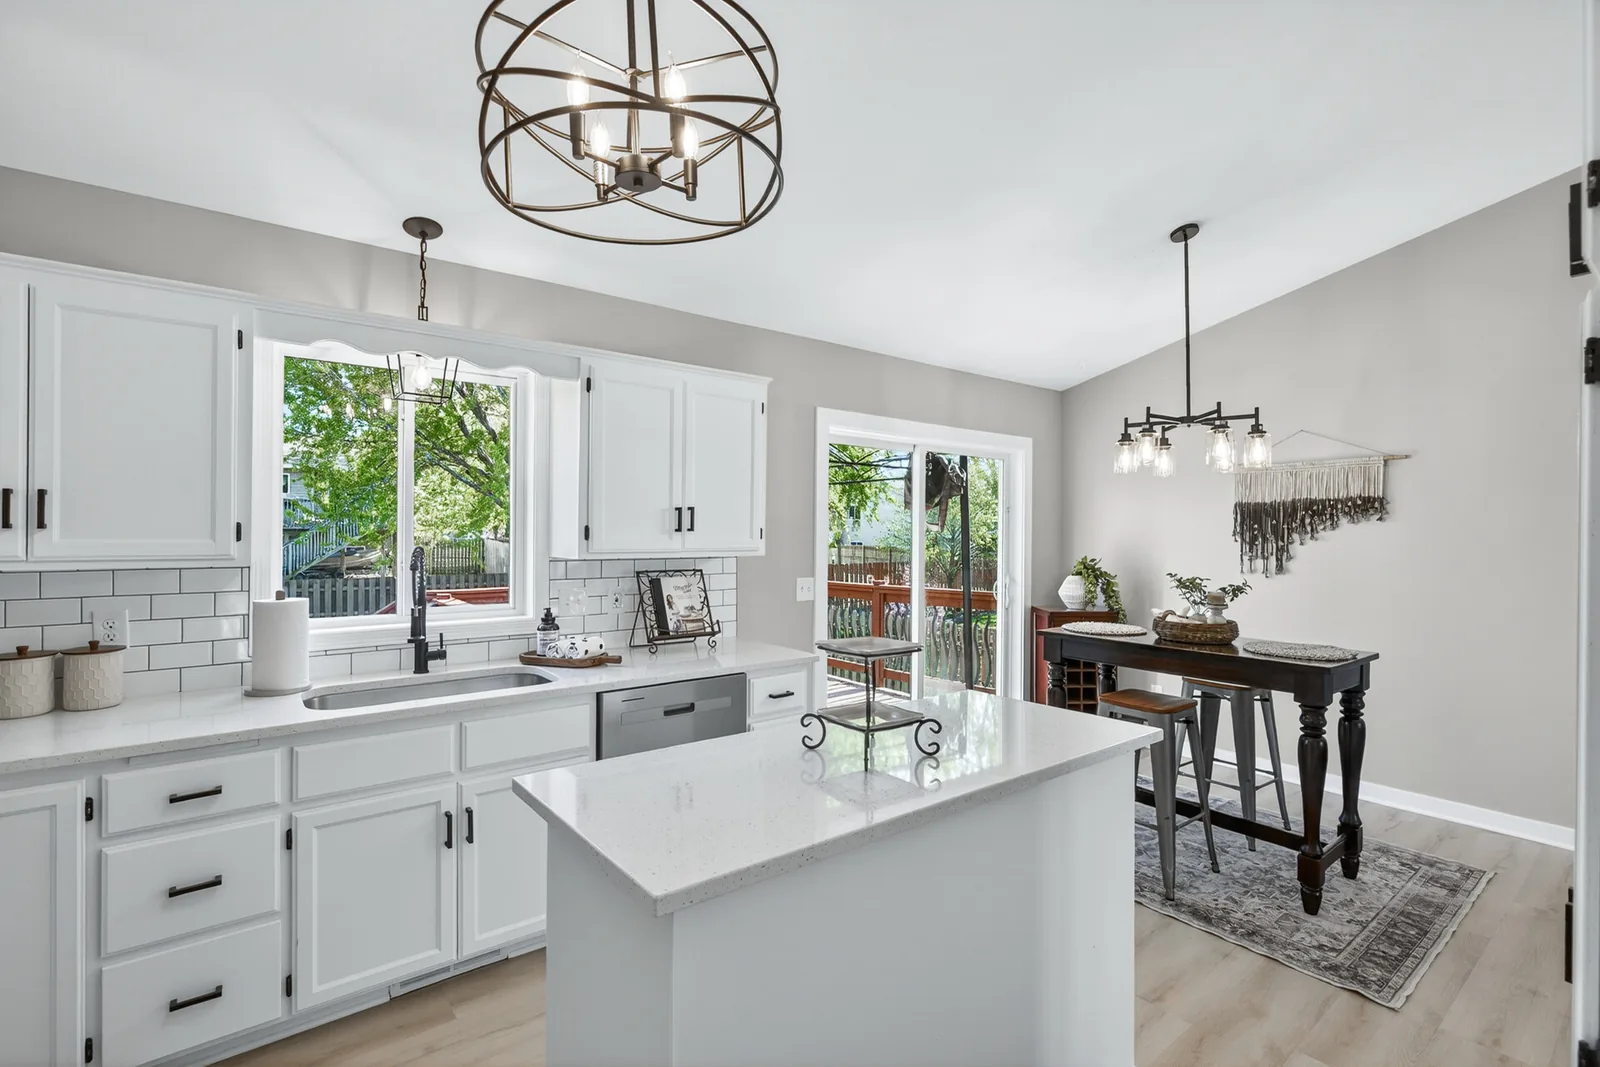
For kitchen backsplashes the fussy part is the edges: outlets, window returns, the run under the cabinets, and the cut where the tile meets the counter. That is where a tidy job separates itself from an approximate one.
What this covers
- Bathroom floor and wall tile
- Kitchen backsplashes
- Shower and tub surrounds
- Backer board and waterproofing in wet areas
- Substrate preparation, layout and grouting
Layout, lippage and the first row
Tile does not hide anything. A layout that starts a quarter inch off at one wall is an inch off across the room, and the eye catches it because grout lines run straight the length of a floor. The first thing on a tile job is measuring the room, finding where the walls are out of square, and deciding where the error goes.
Every room is out of square somewhere. The question is which wall gets the tapered cut and which corner gets the sliver, and the answer is the least visible one: under a vanity, behind a door swing. Full tiles go where people look. That decision is made before any thinset is mixed and cannot be revised later.
Lippage is the other half: the height difference between the edges of two neighboring tiles, what you feel with a bare foot or catch with a mop. Large-format tile is less forgiving, because a long tile bridging a low spot tips at the far end. Flat substrate first, then tile. Leveling clips help at the margins but do not fix a floor that dips.
Some floors need flattening with a self-leveling compound. Some are already flat enough. We check with a straightedge rather than guessing.
- Straightedge across the floor in several directions before layout is set
- Full tiles in the sightlines, cuts where the room hides them
- Large-format tile needs a flatter substrate than small mosaic does
What goes behind and beneath the tile
Tile and grout are not waterproof. Grout is porous, tile joints move water by capillary action, and any wet-area installation assumes water gets behind the surface. The invisible layer underneath is what stops that water from reaching framing, and it decides whether the shower is sound in ten years.
Drywall does not belong in a shower. Neither does greenboard, which resists moisture but is still gypsum and turns to mush when wet long enough. Cement backer board or a foam backer panel is the substrate in wet areas, fastened to studs at the right spacing, seams treated. On floors, fastened backer board or an uncoupling membrane over a solid subfloor gives the tile something that will not flex.
Waterproofing is a separate step from the backer board: a liquid-applied membrane troweled over the board and its seams, or a sheet membrane bonded to it. Both work when continuous. Neither works when corners, seams and penetrations are skipped, and that is where failures start.
You usually cannot tell whether an existing shower has waterproofing without opening something. Soft spots in the wall, grout that stays dark long after the shower is off, or a loose tile that comes off with paper backing still on it all say it is not doing its job.
Showers, curbs and where water finds a way
Water in a shower does not go straight down. It runs along the curb, sits in the corner where the wall meets the pan, wicks into the joint at a niche shelf, and finds any place where two materials meet at an angle. Flat wall field tile is the easy part. The transitions are the job.
A niche is a hole cut in a waterproofed wall: four new inside corners, a shelf pitched forward so water drains instead of pooling, and a new set of seams to waterproof. Done casually it is a slow leak into the stud bay behind it. Same for a curb, which takes water from both sides and needs the membrane carried over the top and down the outside face.
A shower floor that does not fall consistently toward the drain holds standing water, and standing water finds every weakness in the grout. If water pools in a corner after use, that is a pitch problem, not a cleaning problem.
Not every tired shower needs tearing out. If the tile is sound, the grout intact and the walls do not move, regrouting and resealing the perimeter joints buys real years. Tear-out is the answer when the substrate has failed, and the tell is flex when you press on the wall or tile that sounds hollow.
Grout, movement joints and later cracking
Grout does not hold tile down. Thinset does. Grout fills the space between tiles and takes the abuse of cleaning, so when grout cracks in a straight line across a room, the grout is not the problem. Something under it moved.
Buildings move. Framing expands and contracts with humidity, floors deflect under load, and a tile field bonded rigidly wall to wall has nowhere to put that movement except the weakest joint. Tile assemblies need movement joints: a flexible sealant joint instead of grout at the perimeter, at inside corners, where tile meets a different material, and at intervals across larger floors.
A hard grout line in a shower's inside corner will crack, because the two planes it joins move independently. That joint should be sealant matched to the grout color, and it is a wear item to maintain, like caulk at a tub.
Cracking in one spot only is usually a movement joint that was grouted instead of caulked, and it is a small fix. Cracking in a pattern that follows the floor joists means the subfloor is deflecting, which is worth a proper look before more tile goes down. If the floor structure itself is in question, that is a structural engineer's call rather than ours.
Backsplashes: outlets, edges and terminations
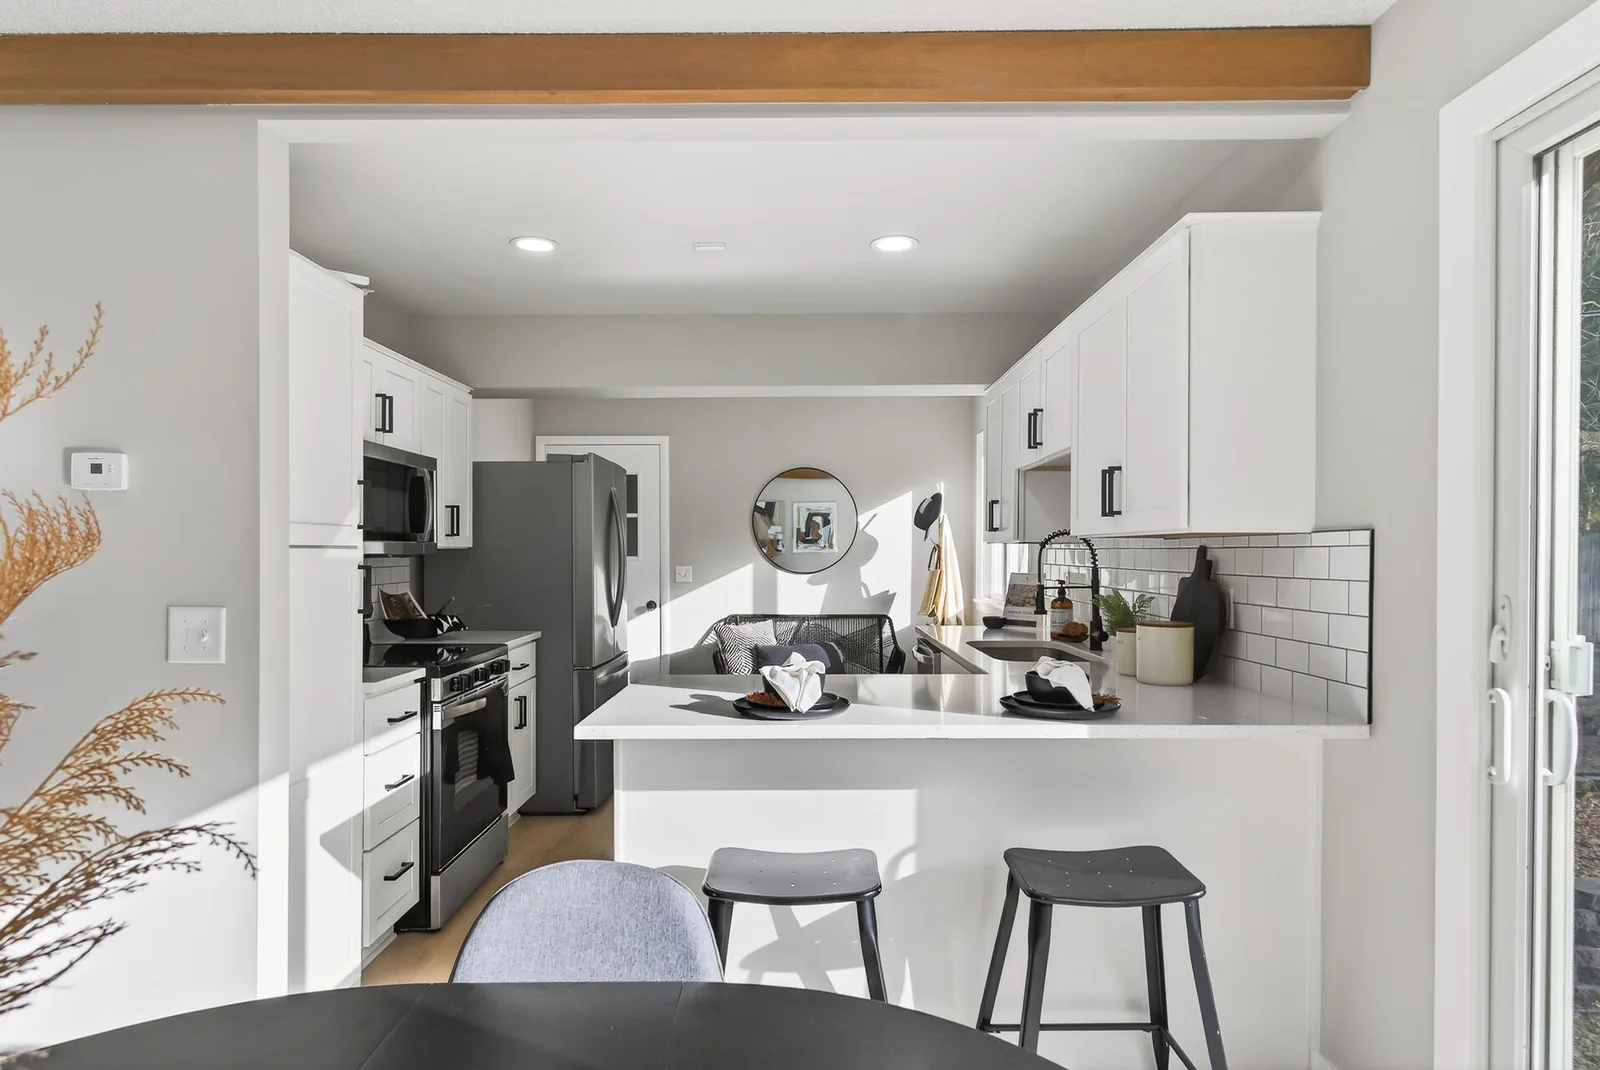
A backsplash is a small amount of tile and a large amount of edge. The field between the counter and the upper cabinets takes an afternoon. The outlets, the window return, the end of a run where it meets nothing, and the transition at the range hood are what the job is made of.
Outlets need the boxes brought forward with extenders so the device sits proud of the finished tile and the cover plate lands flat instead of bridging a gap. Cutting tile tight around a box is straightforward. Getting a row of outlets to land sensibly relative to the grout lines takes deciding it during layout. Any rewiring or moving of a box is a licensed electrician's work, not ours.
Where a run ends without a cabinet or wall to stop it, something has to finish the edge. A metal profile, a bullnose tile, or a mitered edge all work, and they look different. That choice belongs in the conversation before the tile is ordered, because bullnose is a piece you buy with the rest of the order.
The joint where tile meets the countertop is a movement joint, not a grout line. Counters and walls move independently, and a hard grout bead there cracks. It gets flexible sealant, and so does the inside corner where two walls of backsplash meet.
- Box extenders at outlets, decided before the first tile goes up
- Edge treatment chosen with the tile order, not after
- Flexible sealant at the countertop and at inside corners
Common Questions
Can you tile over my existing bathroom floor tile?
My shower grout keeps cracking in the corners. Do I need a new shower?
Does a shower really need a waterproofing membrane behind the tile?
Why is large-format tile harder to install than small tile?
Can you just replace a few cracked tiles instead of redoing the room?
Ask Us Anything, Anytime.
Have questions about selling your house? Call, text, or send us a message and we will get back to you.